
 You will need:
Sushi Rice- 3 Cups
Rice Wine Vinegar - 1 T
Sugar- 1 T
Nori (Seaweed wraps) - about 10
Filler Ingredients- *whatever you desire
* I like to use cream cheese, avocado, jalapeno, imitation crab, shrimp, crawfish tails, pineapple, and baby spinach.

That pineapple was on sale for 99 cents!
** I like to use fresh, organic ingredients whenever possible.
My first piece of advice to you is to have all of the ingredients/supplies ready to go beforehand. This makes assembly so much easier, and you will have to wash your hands less. I also like to keep a bowl of water next to my work station. This comes in handy when I need to quickly rinse something my hands, and wet fingers makes for easier rice distribution. I like to work on parchment paper, but couldn't find the tape. I settled for a placemat of aluminum foil.


Before laying the Nori down, I tear off an equal size of cling wrap, place it onto the foil, then follow up with the Nori.
*I don't think it matters if you place the shiny side up or down. I have done it both ways.
Wet your hands.
Sprinkle rice onto the Nori in little, sporadic clumps.
Re wet hands.
Spread rice.

*Try to make sure that the rice layer is spread evenly, or else your sushi roll will most likely end up lumpy.
Now, this is the point in time where you need to decided how you want to roll the sushi. Rice side out, or rice side in? I typically like the sushi better when the rice is on the outside. It seems like the more "American" way of doing it, and it tastes better.
If deciding to make your roll rice side out, I advise placing the cling wrap on top of the rice instead of under the nori as previously mentioned. After placing the cling wrap on top of the rice, carefully flip it over.
if deciding to make your roll rice side in, leave as is.
The next steps are pretty self explanatory. Layer on the ingredients one at a time, keeping them packed in together. Most sushi recipes show the ingredients being placed in the middle, but I find it A LOT easier to roll when the ingredients are placed closer to the front. This allows me to tuck the nori into itself for a tighter roll.
Step 1- Add Cream Cheese

Step 2: Add Imitation Crab (or whatever meat (or lack there of) you choose)

Step 3: Add Jalapenos (or something crunchy, like cucumber)

Step 4: Add Pineapple (or other fruits/veggies)


Now, take the cling wrap, fold over, and tuck nori into itself. Squeeze it tightly, but not hard enough to damage it. Continue to roll it up making sure to cover ends of sushi. Let chill for about an hour (or eat it nor if you prefer) I just find that the ingredients lose temperature, and I like it all to be cold.
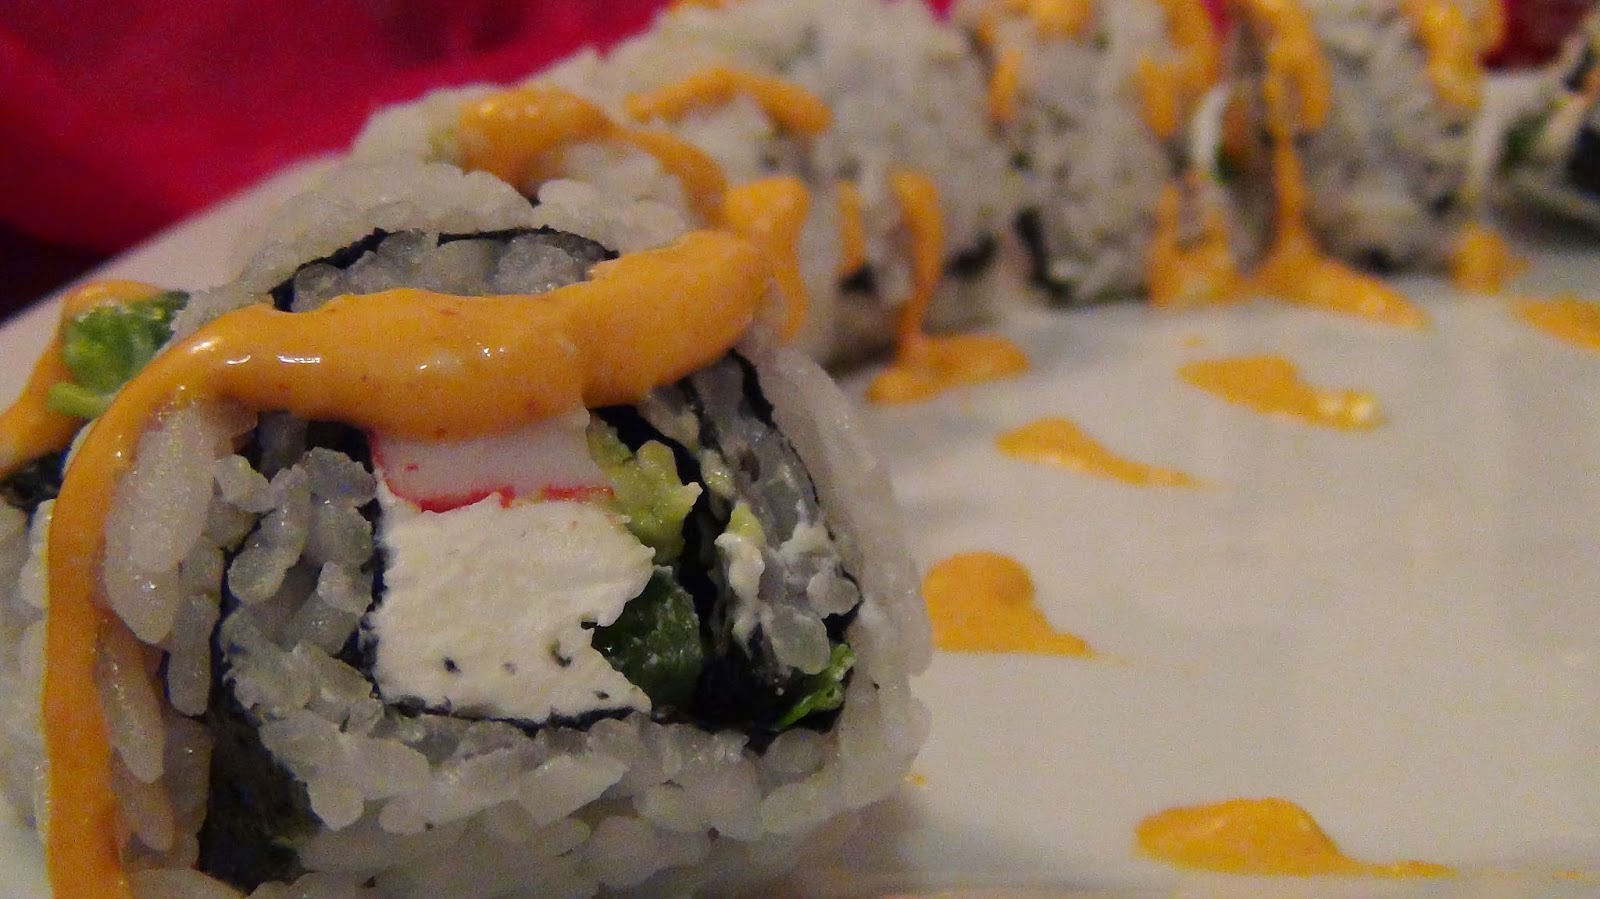
After chilling, place unwrapped sushi onto cutting board. Lightly pinch the roll together while cutting (into apx 8-9 pieces). I like to drizzle mine with homemade spicy mayo, eels sauce, and sometimes a sprinkle of tempura bread crumbs
Did you read my mind? My boyfriend an I have been wanting to make Sushi for what seems like a year now. I bought the sushi rice, but have been soo intimidated to make it. Also I love that you put photos with your post. I'm a picture girl, when I see it, I can do it! Thank you for this post!
ReplyDeleteMMMMM.love sushi. Thanks for the great ideas!!
ReplyDeleteI love sushi. This has made my mouth water.
ReplyDeleteWow - your step-bystep post makes this look so easy! Thanks for the "tutorial" on Sushi - I would pin this, but there's no Pin button (& I don't know how to do it w/out!!!)
ReplyDeleteYou are very welcome! I have the pin button installed on my browser toolbar, so I never thought about other people being able to pin things. After reading your message, I figured out how to add the Pin it button to my blog. Just hover over the image you want to pin, and the button will appear! I hope this helps!
DeleteI never made sushi before, but this looks fun! I would make it without any meat or fish, but I would enjoy the rice and veggies or fruit!
ReplyDeletetwinkle at optonline dot net
Very nice tutorial! I grew up eating sushi but never made it myself!
ReplyDeleteI like to think I've made most everything, but I never thought to make sushi - mostly b/c I don't like raw fish - but wowie! This is perfect! I'm excited to try this!!!
ReplyDeleteThat is the best part about sushi! I don't like raw fish (or fish at all for that matter!) so I use crab or fake crab. It is fun to experiment with different things. Chicken and steak sushi are good too! I have also tried making it with crawfish, which was actually pretty good! Let me know how your sushi turns out, if you do end up making it! :)
Delete